So, you’ve got a killer collection of diecast cars and you want to show them off? Taking great photos of your prized possessions is easier than you think! This guide will walk you through everything from setting up your shot to editing your images, turning your snapshots into seriously impressive pictures.
Finding the Perfect Location
The first step to a great diecast car photo is choosing the right location. Avoid cluttered backgrounds that distract from your star. A clean, uncluttered space allows your cars to shine. Consider a simple backdrop like a plain wall, a piece of fabric, or even some outdoor scenery. Natural light is your friend, but we’ll discuss that in more detail later.

Lighting is Key
Good lighting makes all the difference. Harsh, direct sunlight can create unwanted shadows and reflections, washing out details. Soft, diffused light is ideal. If you’re shooting indoors, try placing your car near a window on an overcast day. This provides even, soft lighting. You can also experiment with artificial light sources, such as softboxes or LED panels, to achieve a professional look. Avoid using your phone’s flash; it’s too harsh and will ruin your shots.

Angles and Composition
Experiment with different angles to find what works best. A slightly elevated angle can give your car a more powerful presence. Consider the rule of thirds; place your car off-center to create a more dynamic composition. Get low to the ground for a unique perspective, or shoot from overhead to showcase interesting details.

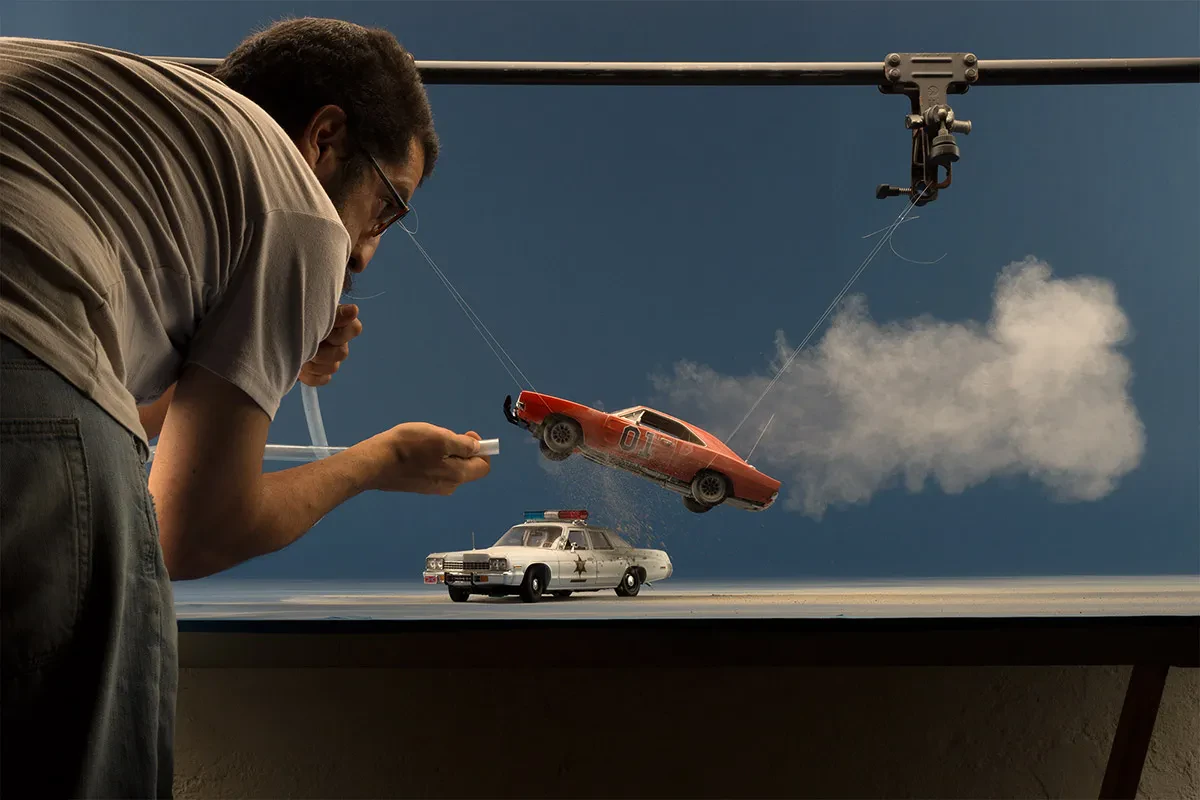
Backgrounds and Props
A simple background is often best, but you can add props to tell a story. A miniature road, some trees, or even a small cityscape can enhance your photo. Be mindful not to overpower the car with too many distractions. Keep it clean and visually appealing.

Using Your Camera or Phone
Even a smartphone camera can produce excellent results. Use the highest resolution setting possible and ensure your lens is clean. A tripod will help you keep your shots sharp, particularly in low light conditions. For DSLRs or mirrorless cameras, a macro lens can be really useful for detailed shots. Don’t be afraid to zoom in for close-ups!

Post-Processing
After taking your pictures, use image editing software to enhance your images. Simple adjustments like cropping, brightness, contrast, and sharpness can significantly improve the final product. Remove any dust spots or blemishes. Many free apps (Snapseed, Lightroom Mobile) and desktop programs (Photoshop, GIMP) offer great editing capabilities.
Tips for Editing
- Adjust brightness and contrast to enhance the car’s details.
- Sharpen the image slightly for a crisper look.
- Crop the image to improve composition.
- Correct any white balance issues.
- Use selective adjustments to highlight specific areas.
Remember, practice makes perfect. Don’t be afraid to experiment with different techniques and settings to discover your unique style. The more you shoot, the better you’ll become at capturing the essence of your diecast car collection.
