So, you’re into diecast cars, huh? Maybe you’ve got a shelf full of pristine beauties, or maybe you’re just starting your collection. But have you ever thought about taking things a step further? We’re talking about blank modified diecast – the art of transforming ordinary diecast models into unique, one-of-a-kind masterpieces.
It’s more than just collecting; it’s about creating. It’s about taking a mass-produced model and injecting it with your personality, your vision, your style. And the best part? It’s surprisingly accessible!
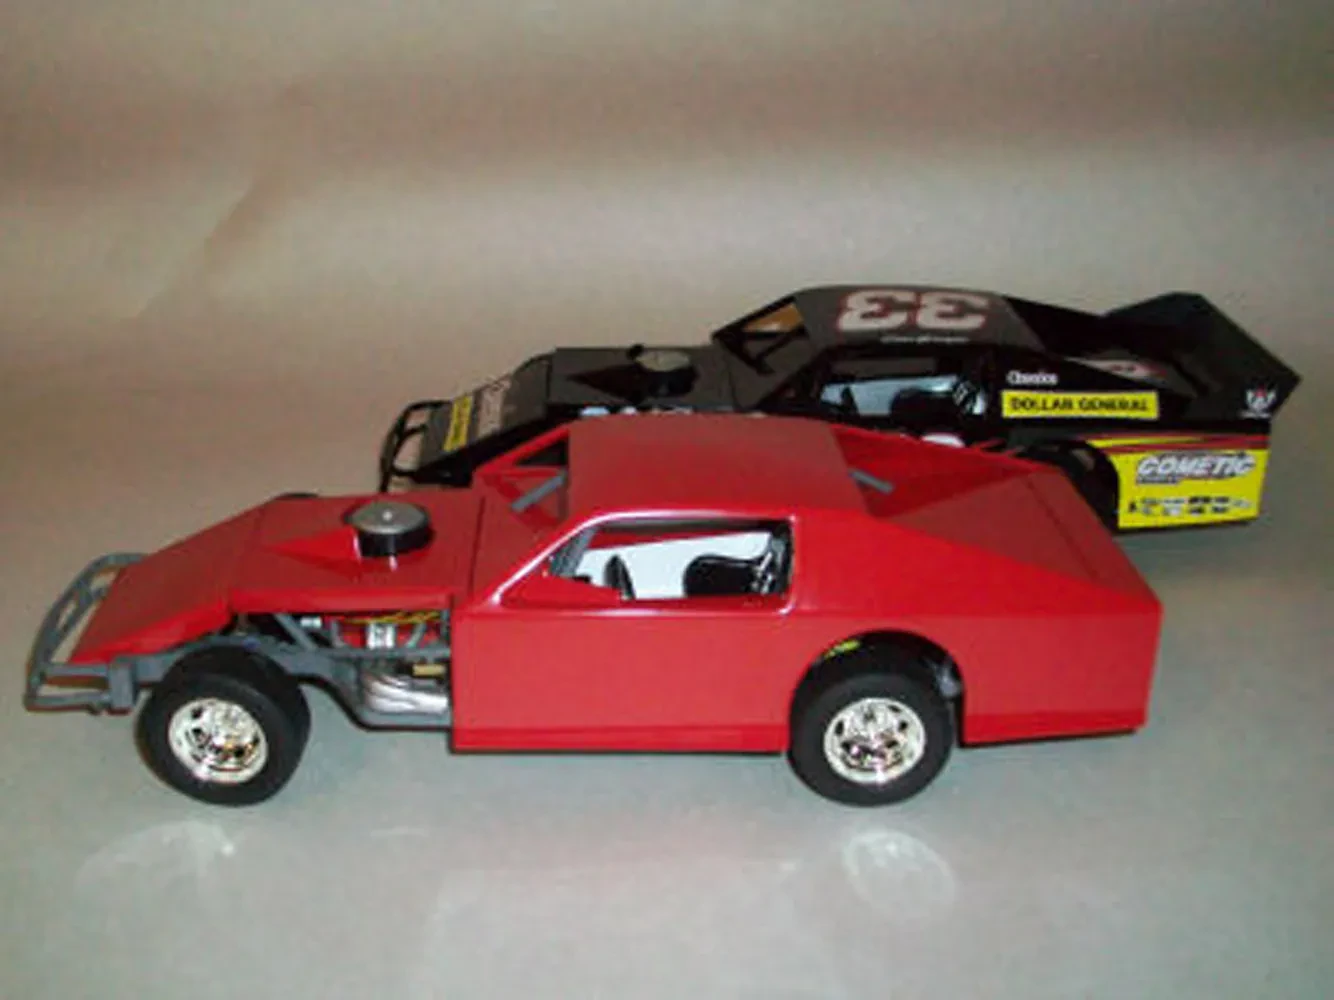
Finding Your Perfect Blank Canvas
The foundation of any great custom diecast is the blank itself. You’ll want to find models that are easily modified, and that often means looking for models specifically designed for customization or those with simpler details.
Many online retailers and hobby shops sell ‘blank’ diecast models, or models specifically made for painting and modification. These often come unpainted or in a single, easily covered color.
Consider the scale too! 1:64 scale is popular due to the sheer variety, while larger scales like 1:18 offer more intricate detail and space for modifications.
Don’t limit yourself to cars, either! Blank trucks, buses, and even motorcycles are readily available for those looking for something a little different.

Essential Tools and Materials
Before you dive in, you’ll need a few essential tools and materials. Don’t worry, you probably already have some of them around the house!
- Fine-grit sandpaper
- Primer
- Acrylic paints
- Paintbrushes (various sizes)
- Clear coat
- Hobby knife
- Modeling putty
- Optional: Airbrush
An airbrush is great for smooth, even coats of paint, but it’s not strictly necessary for beginners. Practice makes perfect, and even a simple paintbrush can produce fantastic results with patience.

The Modification Process: Step-by-Step
The fun part! This process will vary depending on your chosen modification, but here’s a general guideline:
- Clean the model thoroughly.
- Apply a primer coat to prepare the surface for paint.
- Paint the body, adding any desired details.
- Allow the paint to dry completely.
- Apply a clear coat for protection and shine.
- Add any final details like decals or weathering.
Don’t be afraid to experiment! Try different techniques like weathering, adding custom decals, or even swapping out parts from other models.
Remember to take your time and be patient. It’s a rewarding process, but rushing can lead to mistakes. Let each coat of paint dry thoroughly before proceeding.

Beyond the Basics: Advanced Techniques
Once you’ve mastered the basics, there’s a whole world of advanced techniques to explore. Think about adding custom body kits, modifying the chassis, or even creating entirely new parts using resin or 3D printing.
The possibilities are truly endless, limited only by your imagination and skill level.
